Can I Fix a Foundation Crack Myself in Edmonton?
Quick Answer: Some foundation cracks can be DIY’d with a $90 to $400 kit, most cannot. A single hairline vertical crack under 3 mm on a plumb, dry wall in an Edmonton home under 30 years old is a reasonable DIY candidate. Do not DIY horizontal cracks, active leaks, wider cracks, or bowing walls. Edmonton clay amplifies every DIY mistake.
The kits are right there at Home Depot. SikaFix is ninety dollars. A RadonSeal kit is three or four hundred. Ten thousand YouTube videos show homeowners injecting their own cracks and walking away with a dry basement. So why would you pay anyone?
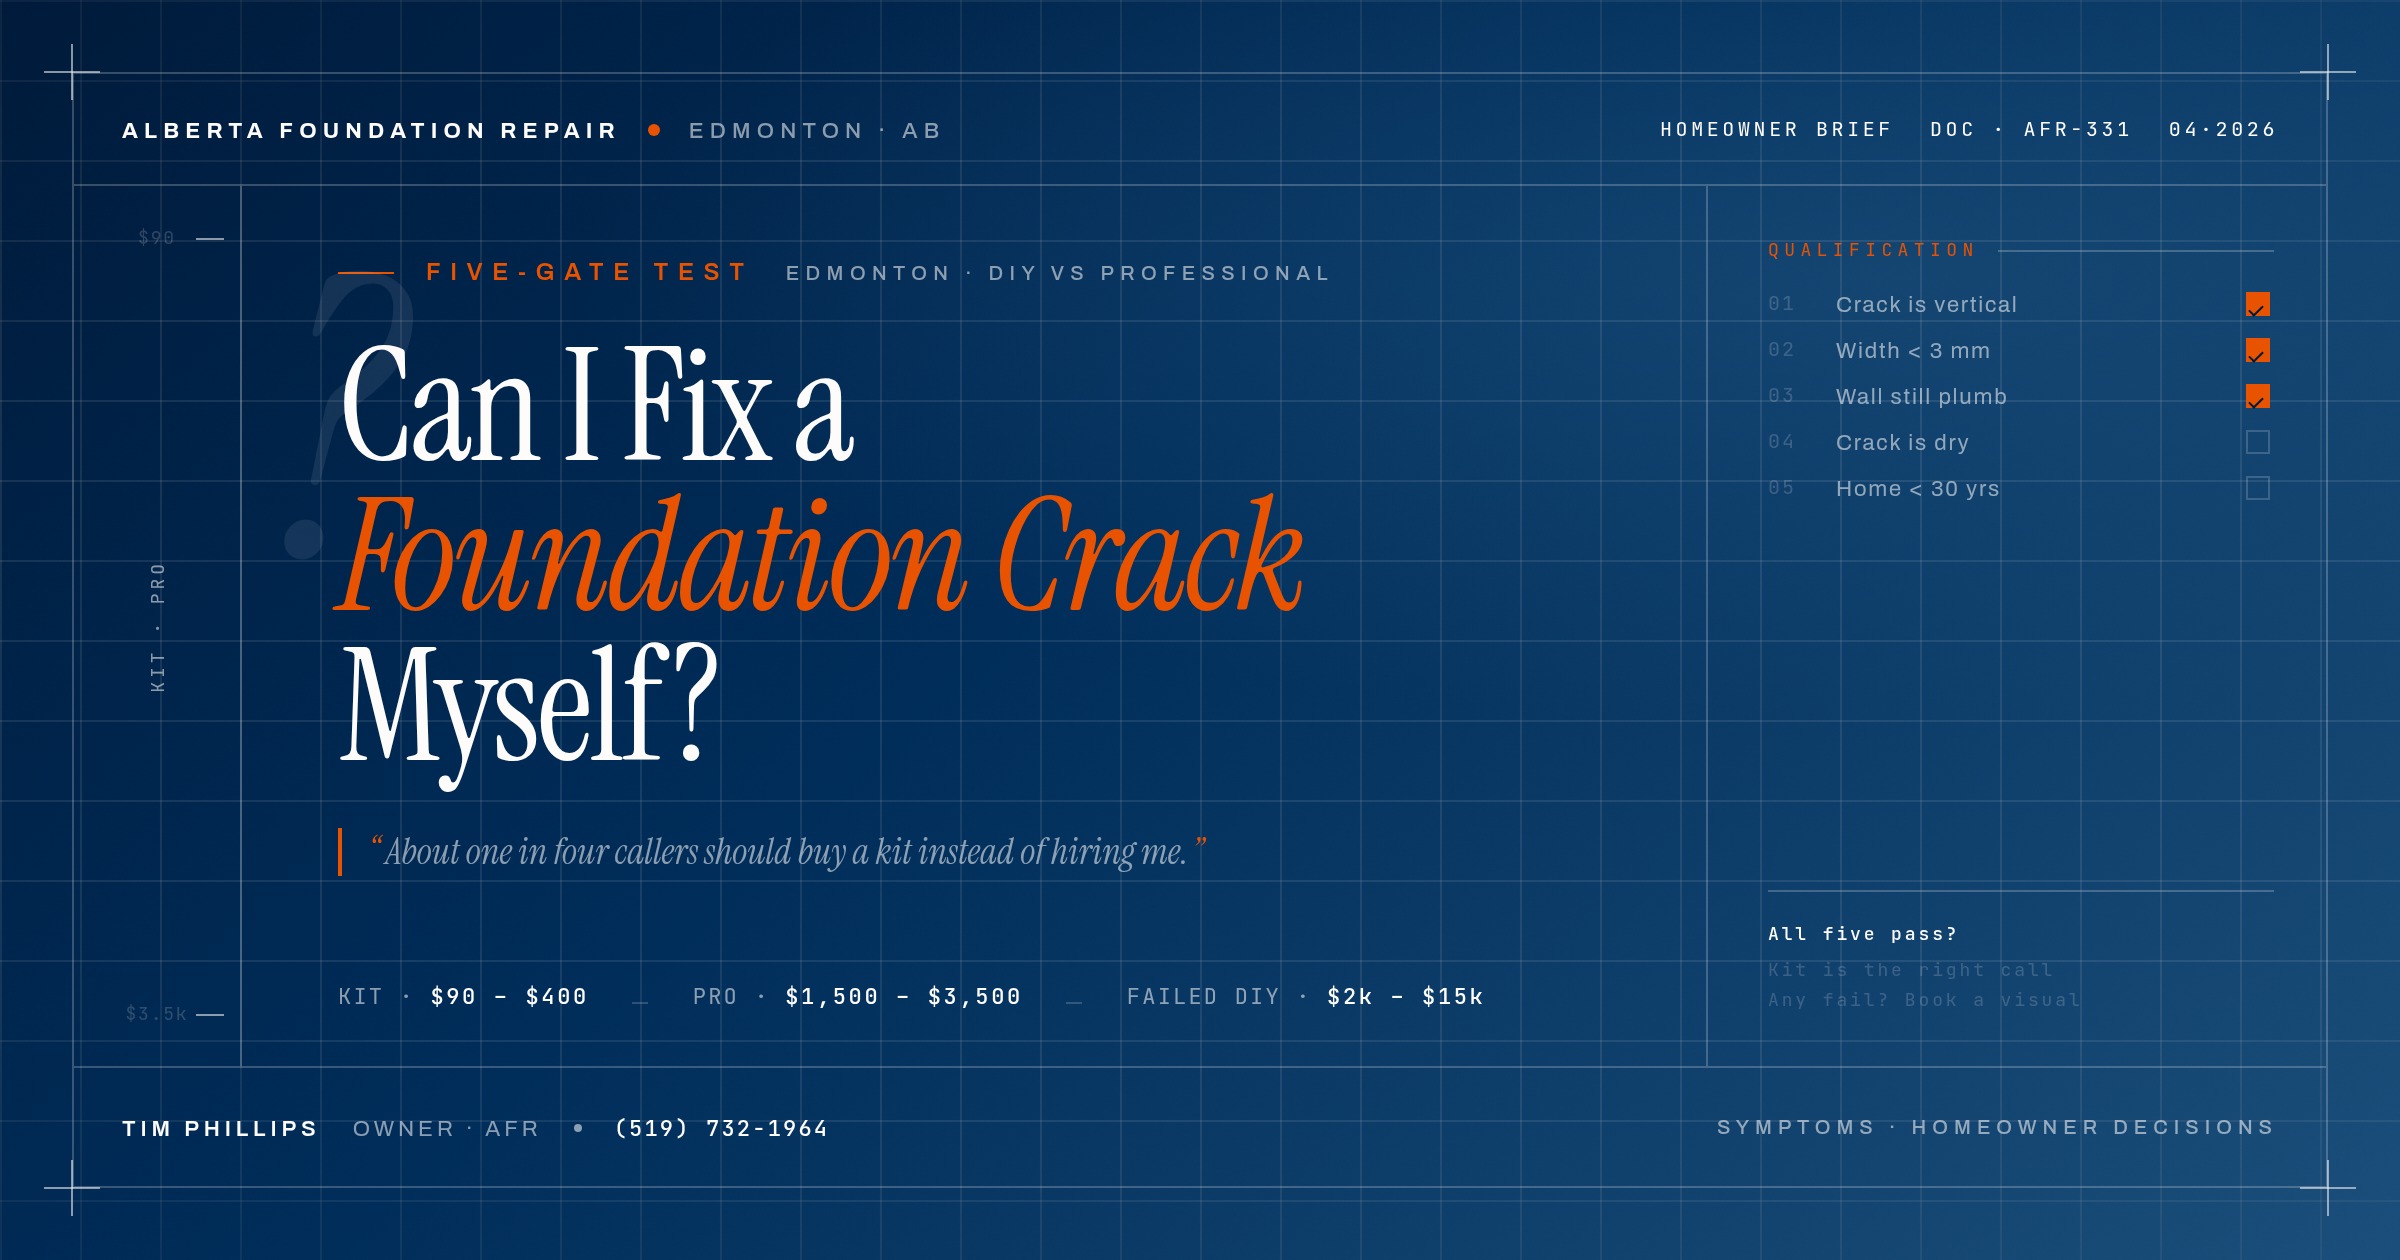
The honest answer is that for a specific kind of crack, on a specific kind of wall, in a specific kind of home, you would not. Tim tells maybe one in four inspection callers to buy a kit and save his fee. The rest fail one of five qualification tests that Edmonton’s clay and freeze-thaw climate make non-negotiable. What follows is the exact test, the order it runs in, and what each failure means. Work through it before you spend anything.
Patching a crack yourself can be the right call or the wrong one, and knowing which is the whole game. If you want the wider context first, our complete homeowner walkthrough for foundation crack repair in Edmonton lays out where DIY ends and a professional fix begins.
Gate 1: Is the crack vertical or near-vertical?
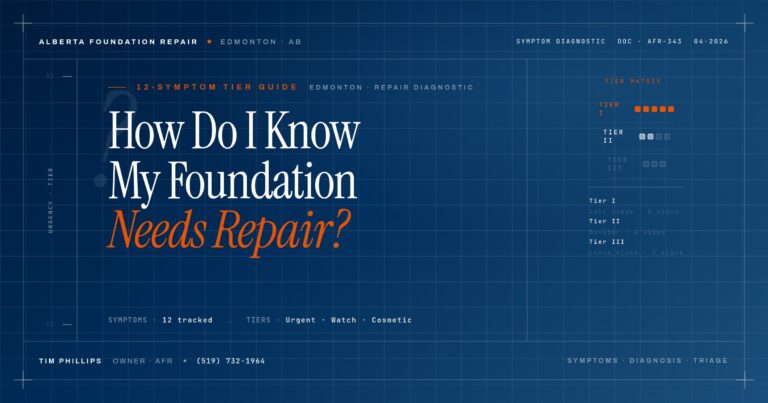
If you have not yet decided whether the crack needs repair at all, start with the twelve-symptom tier guide before running the DIY qualification. Many cracks land in the cosmetic tier that needs no work.
Hold a builder’s square or phone level against the crack. Within about 15 degrees of vertical passes. Anything that runs horizontally across the wall, even partially, fails this gate.
Why this gate matters: horizontal cracks are almost always caused by hydrostatic soil pressure or frost heave pushing the wall inward. The crack is a symptom of force, not a spontaneous split. Sealing it does nothing about the soil pressure. The crack reopens and widens, usually within one Edmonton winter. No DIY kit can address a horizontal crack, which is why our horizontal crack guide puts them in the same risk tier as bowing walls.
Fail this gate: stop here. Call for a professional inspection before doing anything else. A horizontal crack that has been ignored a year is often still fixable. A horizontal crack that has been DIY-sealed for a year is often a wall-anchor job.
Gate 2: Is the crack narrower than 3 mm?
Measure with a ruler at the widest point. 3 mm is about the width of two stacked business cards. Anything wider than that fails this gate.
Why this gate matters: DIY kits are designed for hairline sealing, not for cracks with structural movement. Cracks over 3 mm frequently have displacement (one side offset from the other, even slightly) and that displacement indicates the two halves of the wall are still moving relative to each other. Epoxy injected into a moving crack bonds to both sides, then tears apart the first time the clay shifts. Polyurethane is more forgiving but still limited.
The 6 mm Rule
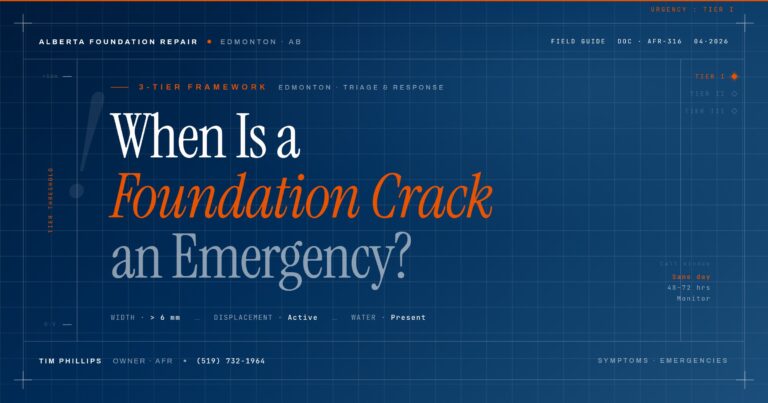
If the crack is over 6 mm (1/4 inch) at any point, treat it as a Tier 1 emergency and stop reading. That width is the industry-standard structural threshold. Book the same-day call.
Fail this gate: document the crack width with a dated photo, include a dime or coin for scale (Canadian dimes are exactly 18 mm), and send the photo when you call. The width usually tells a professional what repair scope they are walking into before the site visit.
Gate 3: Is the wall still plumb?
Hold a long level or straight edge vertically against the wall, full height, close to the crack. Any visible gap at top or bottom fails this gate.
Why this gate matters: a wall that has moved is no longer a wall with a crack, it is a bowed wall with a symptom. The crack is where the deformation concentrated, not the cause. Injecting it creates a false sense of repair that masks the deformation continuing. Tim has seen more than one homeowner DIY-seal a crack on a wall that was already 20 mm out of plumb, then spend the next year wondering why the basement feels different.
Fail this gate: this is often a structural engineer decision, not a DIY one. A 25 mm deflection is the threshold where wall anchors or carbon-fibre straps usually become necessary. Below that, sometimes the wall is stable; sometimes it is not. Only an inspection can tell.
Gate 4: Is the crack dry right now?
Dry means no active water, no damp drywall adjacent, no fresh efflorescence (white crystalline deposits), and no puddle on the floor at the base of the crack. Old dried efflorescence from a past leak is fine; fresh wet material is not.
Why this gate matters: active water entry means one of two things, neither good for DIY. Either the exterior waterproofing has already failed, the weeping tile is clogged, or the drainage around the home is no longer moving water away from the foundation, or the crack has opened enough that water is finding its full depth. Sealing the interior surface does not fix either. The water finds the next weakness. Within a season you are doing a second repair.
Spring Leaks Are the Hardest to Read
An Edmonton crack that only leaks during spring thaw (March to May) is the most deceptive signal in foundation repair. It is dry eleven months of the year and catastrophic for four weeks. Homeowners DIY the crack in July, it holds all summer, and re-leaks in April. The water-leaking foundation crack guide covers why.
Fail this gate: repair the cause before the symptom. Exterior grading, weeping tile, gutter discharge, and sump pump all get checked before any crack injection. Most failing DIY repairs on active-leak cracks would have held if the exterior water management had been fixed first.
Gate 5: Is the home under 30 years old?
Check the building permit year, the MLS listing, or ask the previous owner.
Why this gate matters: newer poured-concrete foundations with intact rebar respond predictably to modern injection kits. The kits were developed and tested against these walls. Older homes often have block foundations instead of poured (kits do not handle block well), or corroded rebar that is no longer holding the wall together, or original 1960s-era concrete that was batched with less consistent mix designs than current codes require. An injection that is perfect in a 2015 home can disappear into an invisible void in a 1965 home.
Fail this gate: homes over 30 years old benefit from an on-site inspection before any injection so Tim can read what the age of the wall means for the repair. Tim comes out, looks at the foundation, and tells you whether the wall likely has the rebar continuity and the solid interior that a DIY kit assumes. Most pre-1990 Edmonton walls are still good candidates. A surprising number are not.
If You Passed All Five Gates
Good. You are looking at a reasonable DIY candidate. The cost math favours the kit. The repair is within homeowner skill range. Here is how to spend the next two hours well.
Pick polyurethane, not epoxy. For almost every Edmonton residential application, polyurethane is the correct choice. It foams on contact with moisture, fills small voids behind the wall, and remains flexible enough to tolerate the seasonal clay-heave movement that rigid epoxy cannot. Epoxy is only right for a truly non-moving crack where a structural-grade rigid bond is preferred, and most Edmonton cracks move seasonally whether the homeowner realizes it or not. If you are wondering about the tradeoffs in more depth, our epoxy vs. polyurethane guide goes into the material science.
Kit budget: $90 to $400. SikaFix at Home Depot ($90) is the lowest-friction option for a single hairline crack. RadonSeal and Eco-Building kits ($200 to $400) come with more material and better ports, and are the right call if you have two or three qualifying cracks or a longer single crack (more than three metres).
The six-step injection sequence: clean the crack (wire brush, vacuum, no water if using polyurethane), mount surface ports every 15 to 20 cm, seal the crack face with the included paste, let the paste cure the full recommended window, inject from the bottom port upward until material appears at the next port, cap and move up, wait the full cure window, then remove ports and inspect. The two steps homeowners skip most often are “cure the paste fully” and “inject slowly”, and each skip is a failure mode Tim has personally cut out of walls for paying customers.
Tim Phillips, Alberta Foundation Repair: “The kits work. What fails is the diagnosis. If I had to put a number on it, about 80% of DIY repairs I get called to later would have held if the homeowner had run the five-gate test honestly. The other 20% would have held if they had called me for a fifteen-minute visual check before buying the kit. The technique is not the problem. The question of whether the crack was ever a DIY candidate almost always is.”
Why Edmonton Is a Harder Market for DIY
A DIY injection that would last twenty years in Halifax or Victoria often fails in its third Edmonton winter. The reasons are physical, not skill-based.
Clay heave keeps working the crack. Edmonton sits on 65% glacial till with plasticity index reaching 44%. That clay swells in fall when moisture returns, contracts in summer when drought sets in, and heaves through every freeze-thaw transition. A rigid epoxy bond tears. A flexible polyurethane handles small cycles but is eventually defeated by a decade of large annual ones.
Freeze-thaw amplifies every small defect. Water expands 9.05% when frozen. Any pocket the DIY injection did not reach, any void behind the wall that is too big for the kit volume, fills with water in fall, freezes in winter, and exerts up to 50,000 kPa of pressure on the surrounding concrete. Each winter enlarges the weak points.
DIY cannot see the cavity. When Tim inspects on site, he can read the signs of voids behind the wall before injecting, and can judge in advance whether the kit volume will fill them. A homeowner with a caulking gun cannot. If the cavity is larger than the kit, the injection disappears into the void without sealing the crack, and the homeowner has no way of knowing until spring.
Solonetzic soils on the east and north sides. Millwoods, Glastonbury, Castle Downs, and Lago Lindo sit on higher solonetzic soil concentrations than south Edmonton. Solonetzic soils are more expansive than standard glacial till. Kits rated for “typical soil conditions” are not rated for solonetzic clay. East-side and north-side homeowners face a measurably higher DIY failure rate, and it is not because they are doing the work worse.
The Cost Math, Honestly
The sticker comparison makes DIY look obvious. The failure-adjusted comparison is less flattering.
Edmonton 2026 Cost Ranges
DIY kit, successful: $90 to $400 per crack, two hours of homeowner time, 10 to 20 year hold expectancy on a qualifying crack.
Professional injection: $1,500 to $3,500 per crack, 1 to 3 hours, 15 to 25 year warranty. See the full Edmonton pricing guide.
Failed DIY requiring professional interior remediation: $2,000 to $5,000. Pros have to excavate the failed kit material before re-injecting, adding labour.
Failed DIY requiring exterior excavation: $5,000 to $15,000. When interior access is compromised by the failed DIY, the only option is excavating the exterior and installing a new waterproofing membrane.
Break-even: if your DIY has better than a 75% success probability, it beats the professional route on expected value. Below 75%, the professional route is cheaper on average even ignoring the inconvenience of a failed repair.
Tim’s working rule: if you pass all five gates cleanly and the home is under 30 years old, DIY probably has 85% to 90% success odds and is the right financial call. If you answered “maybe” or “I am not sure” to any gate, the odds drop below 50% and the professional route is cheaper in expected value. A free fifteen-minute visual inspection either confirms you should DIY, or it catches the one reason you should not.
Three Questions Homeowners Ask Most
How long does a successful DIY injection actually last in Edmonton?
On a qualifying crack repaired correctly with polyurethane, 10 to 20 years is realistic. Epoxy on a non-moving crack can last longer on paper but fails faster on any crack that experiences seasonal movement, which in Edmonton is most of them. A professional repair typically lasts 15 to 25 years because the contractor can address voids behind the wall that a kit cannot see.
Does DIY void my new-home warranty?
In most Alberta new-home warranties, yes. Alberta New Home Warranty and most builder warranties require structural repairs to be performed by licensed contractors. A DIY injection on a crack covered by warranty typically ends the warranty coverage on that portion of the foundation. Before DIY, call your warranty provider and ask about the specific crack. If it is covered, let the warranty pay for a professional repair.
What if my DIY leaked again this spring?
Spring re-leak almost always means one of three things: the original diagnosis was wrong and the crack was a symptom of a larger water-management problem, the cavity behind the wall was larger than the kit volume, or the injection did not travel the full depth of the wall. Do not re-inject without a professional inspection. Photograph the failed repair from multiple angles and call for an assessment; the photo set usually identifies the failure mode before anyone sets foot in your basement.
Sources
- American Concrete Institute. ACI RAP-1: Structural Crack Repair by Epoxy Injection. Link
- Sika Canada. Sika Injection Systems for Concrete Structures, Technical Data. Link
- National Research Council Canada. Canadian Building Digest: Frost Action and Foundations. Link
- Alberta Geological Survey. Surficial Geology of the Edmonton District, ESR 1962-06. Link
- Canada Mortgage and Housing Corporation. Moisture and Air Problems: Householder’s Guide. Link
A Fifteen-Minute Second Opinion Before You Buy
If you passed some gates and are on the fence about others, Tim will walk the foundation and give you a verbal read at no charge. If you are a clean DIY candidate, he will tell you so and send you to the hardware store without an invoice. If you are not, you find out before spending anything on a kit that was going to fail.
Alberta Foundation Repair, Edmonton and surrounding areas, (519) 732-1964.